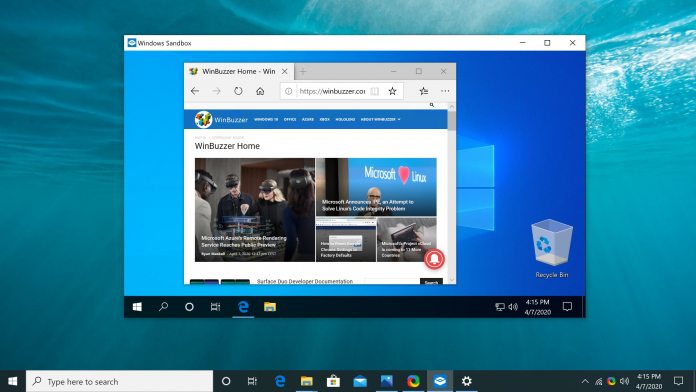
In recent times, for example, Microsoft released a PowerShell script for Windows Sandbox that lets users help fight coronavirus. It uses an open-source app to simulate protein dynamics, all inside Windows 10’s new safety feature. Enabling the hardware virtualization add-on is very easy compared to a traditional virtual machine and the tiny version of the company’s OS only takes up 100MB. Windows Sandbox also deletes everything from the session after you close it, so there’s no need for time-consuming cleanup. With this guide, we’ll walk you through exactly how to enable the Sandbox, but know that it isn’t possible on Windows 10 Home. You’ll need the following requirements:
Windows 10 Pro or Enterprise Version 18305 (Windows 10 May 2019 update) or higher A CPU with hardware virtualization enabled At least two processor cores 4 GB of RAM
Though the Sandbox itself only takes up 100MB, Microsoft also recommends you have 1GB or hardware space, just to ensure your main OS will run smoothly in the background. With that said, let’s jump into the first step.
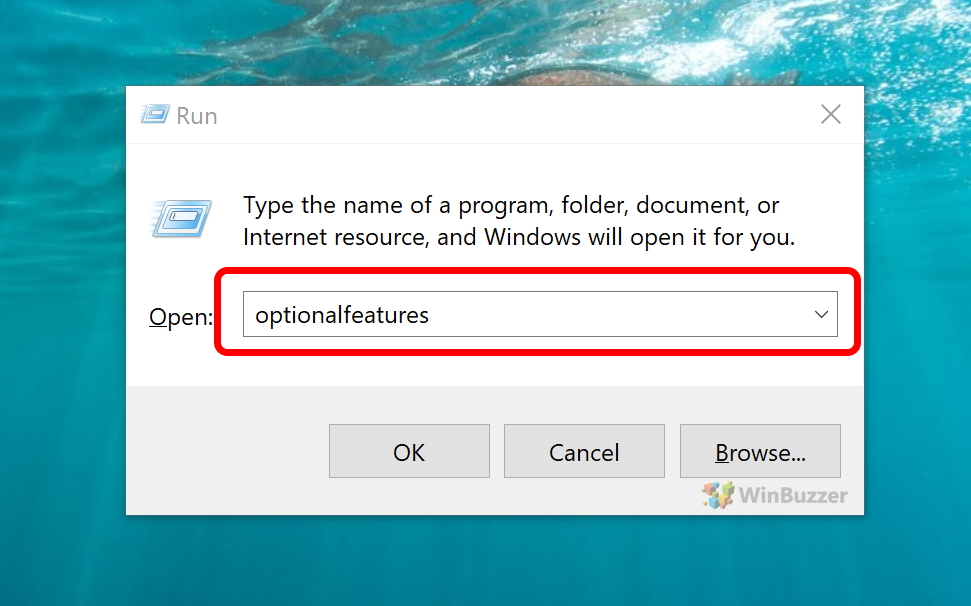
Enable the Windows 10 Sandbox via Optional Features
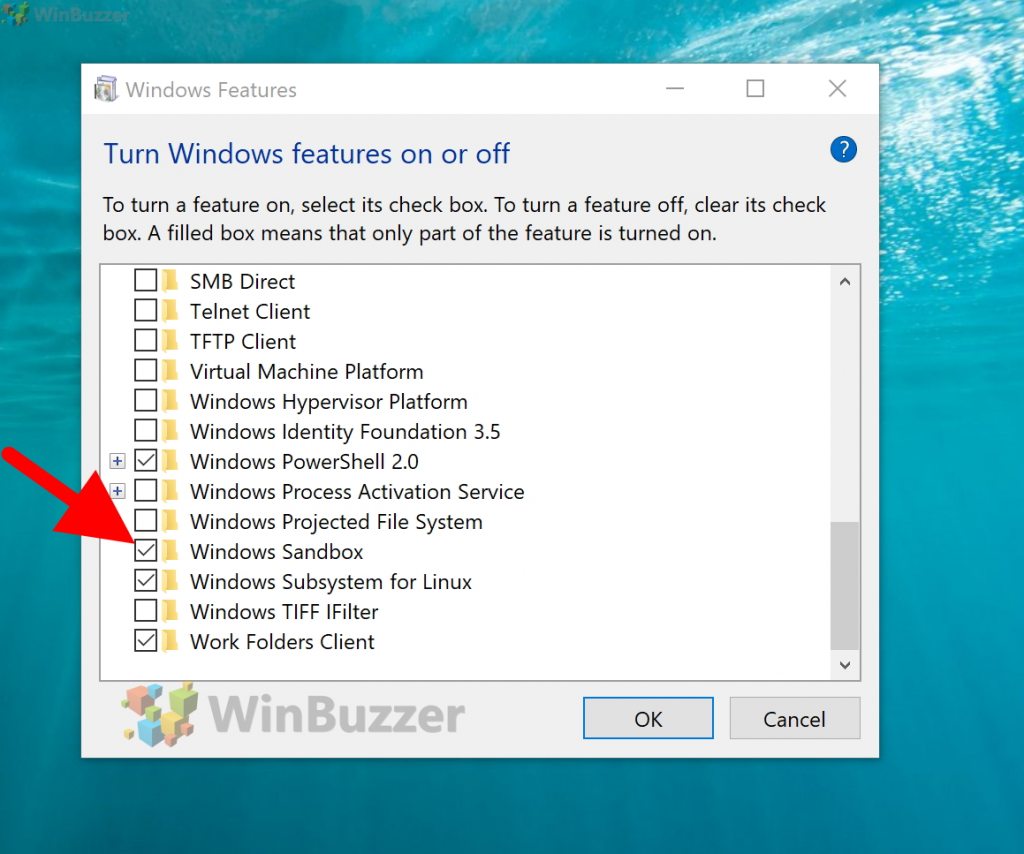
- As expected, the Windows Features pop-up will appear, asking which you’d like to enable. A bit of scrolling and you’ll find the correct entry. Tick it and press OK. You may be prompted to restart your PC.
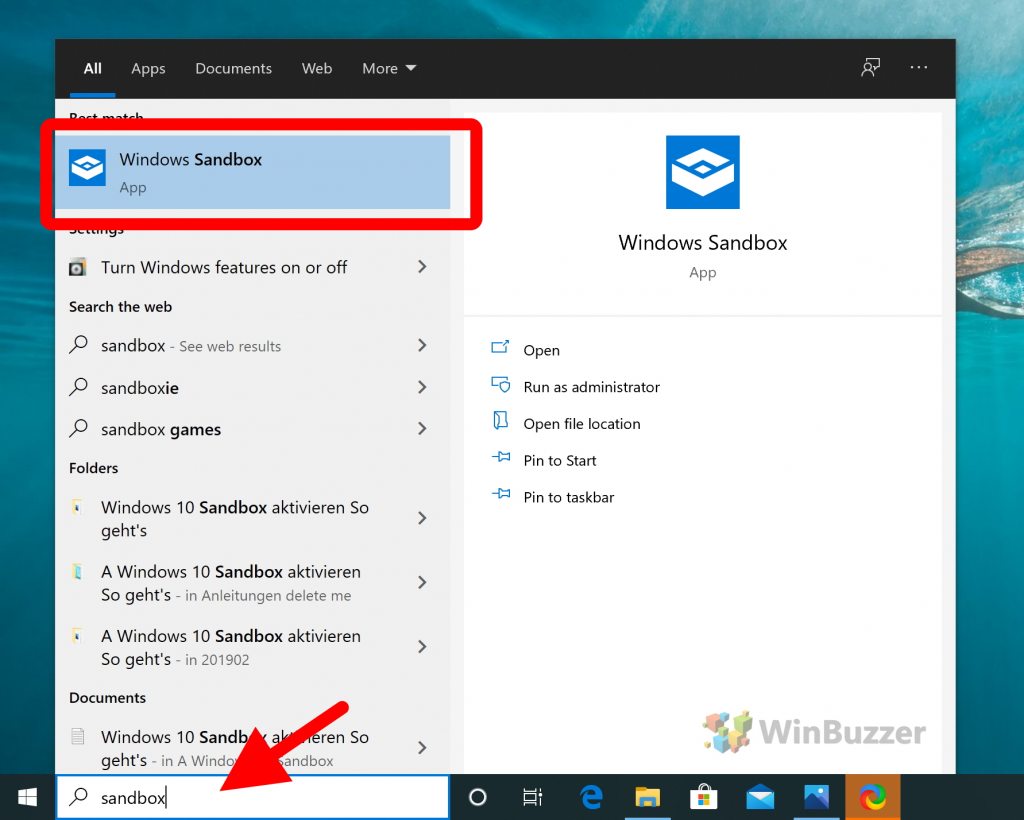
- You can then run the Windows 10 Sandbox by searching for “Sandbox” in the Start menu.
- The application will open a new window with a virtual system. In it, you can copy the setup files of a potentially dangerous application, install it inside the Sandbox and then test it without risk. Once you close the Windows 10 sandbox, all files you have placed and changes you have made there will be automatically removed.
